Reports and Analytics
How to use Detailed Trips, download report data and create scheduled reports
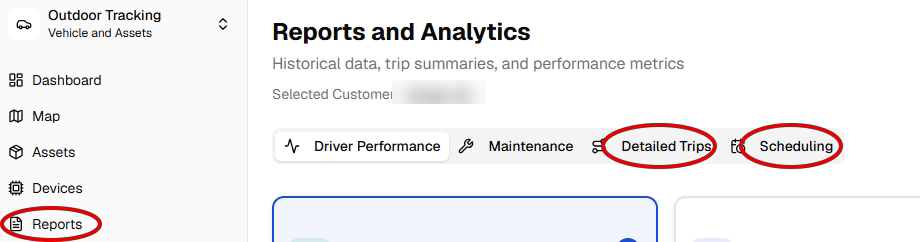
To access the Reports, select Reports from the Outdoor Tracking menu. This will take you to the Reports and Analytics page.
Select Detailed Trips to see an on screen report which can be downloaded or chose Scheduling to create various reports which can be set to run at a frequency to suit your needs.
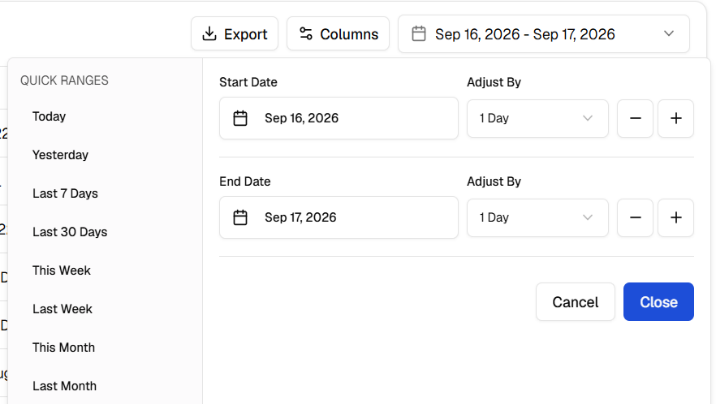
On the Detailed trips page there will be a report header bar, above this will be a link to a data filter on the left, a date picker on the right and buttons to export the data and to choose which columns you wish to see in the report.

Click on the Date Range, indicated in Red to expand the options. The Start date and End date can be manually set by editing the dates or one of the Quick Ranges can be chosen which will set the date range as required. Click Close to exit the date picker.
Data for any of your vehicles that made journeys during the set period will be visible on the screen.
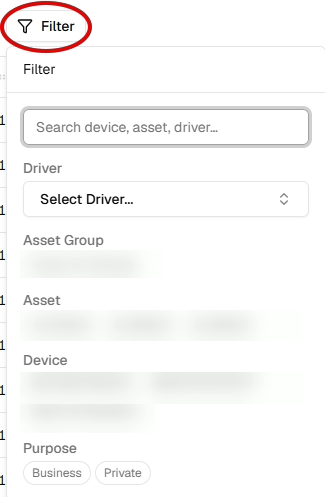
The data selection can be further refined by clicking Filter.
If you wish to select specific vehicles, select the Asset Group they are in then any of vehicles within that group that have data available in the date range will be visible. These can be selected as required.
If you have named drivers these can be filtered to give a report based one or more drivers. If the vehicles are equipped with Private / Business Journey select method then the report can be further refined by selecting the Purpose.
Once the selections have been made click the Filter button again to exit the selector.
The report will then change to show only data matching the selections made.
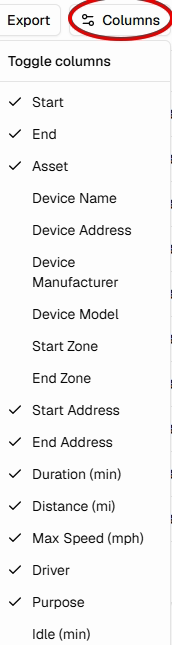
To add columns to the report click on Columns to see the list of available columns Select to add or remove as required then click on Columns to close the selector.
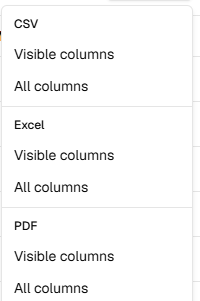
Once all of the selections have been made the data can be downloaded. Click Export button and a dropdown will appear offering 3 formats with 2 options each. Select the option required and that data will be downloaded to your device.
From the Reports and Analytics screen click Scheduling.
The screen will show any existing scheduled reports in the top table and completed runs in the bottom table.
To create a new schedule click on New Schedule on the right of the screen.

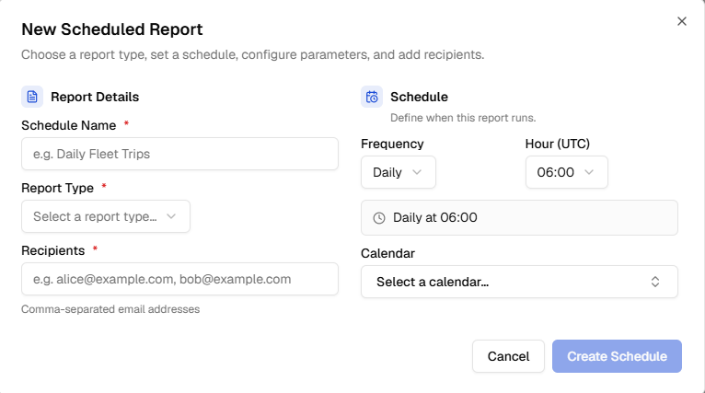
The New Scheduled Report form will appear.
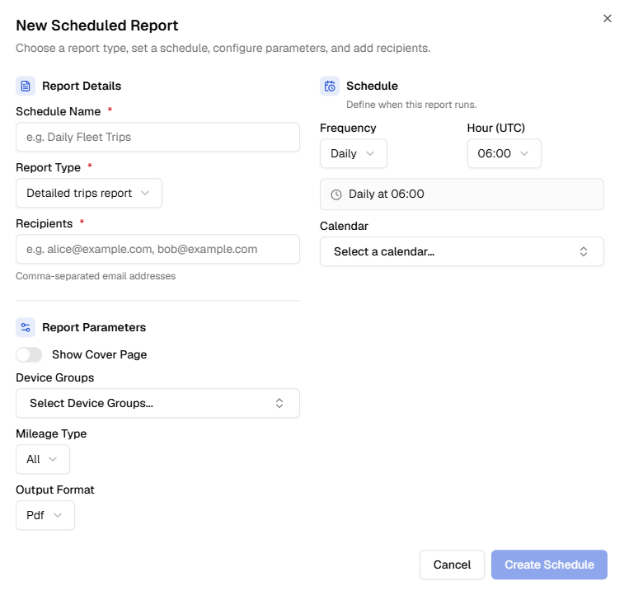
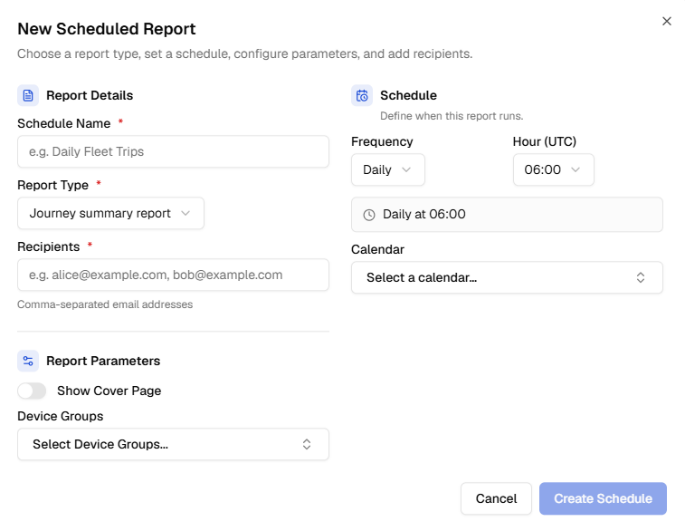
Enter the Name for the report, Add the recipients. In the Schedule section choose from Daily, Weekly or Monthly and set any options for the chosen frequency. When you choose the Report Type the form will expand giving extra fields to select the data to be included.
The examples below show the forms for Detailed Trips (Left) and Journey Summary (Right).
Once all required fields have been completed, click Create Schedule and the report will be saved and will run according to the frequency required. The report will be delivered to the recipients once run.