Connect FAQ
Help topics
Choose a topic for guidance based on the current Connect interface.
Step by step
Guides
Frequently asked questions
Common questions
Select a question to see the instructions and screenshots.
Getting started
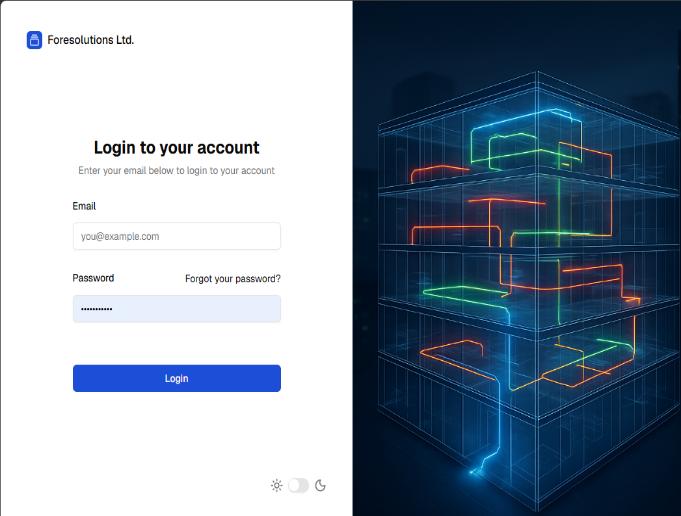
How do I log in for the first time?
Your welcome email contains the URL you need to begin. Your username is your email address.
- Open the URL from your welcome email.
- Select Forgot your password? and follow the instructions to create your password.
- Enter your email address and new password, then select Login.
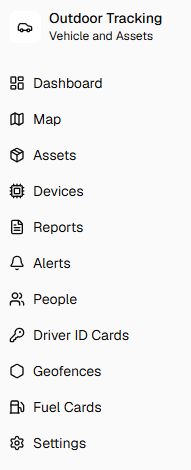
Where do I find the Outdoor Tracking menu?
After signing in, the Outdoor Tracking menu appears on the left. It provides access to the Dashboard, Map, Assets, Devices, Reports and the other available areas.
Mapping and tracking
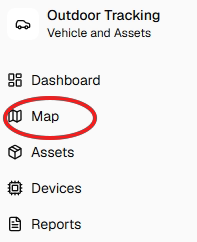
How do I view the map and vehicles?
Select Map from the Outdoor Tracking menu. The map opens with its controls positioned on the right-hand side.
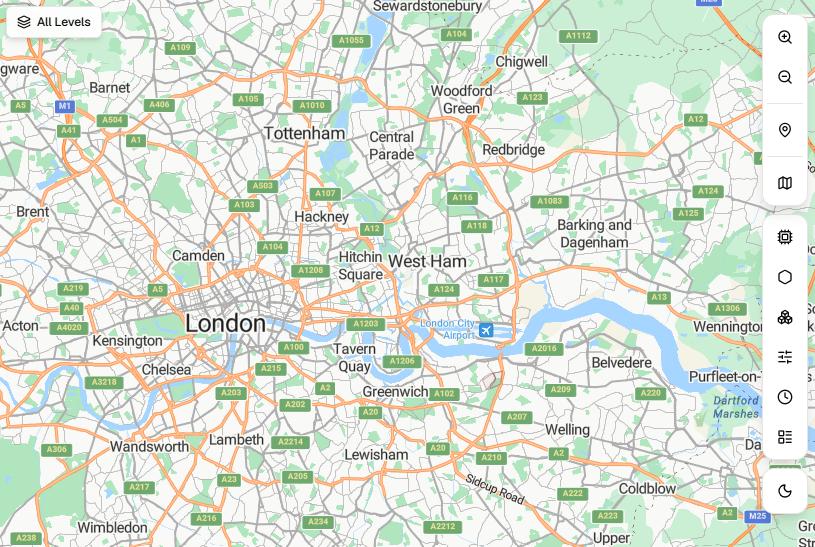
What controls are available on the map?
The right-hand map menu includes the following controls:
- Zoom in
- Zoom out
- Centre on vehicles
- Map style
- Device controls
- Geofences
- Geofence groups
- Features
- Historical data settings
- Card layout settings
- Switch to dark mode
Adding vehicles
How do I select a vehicle tracking group?
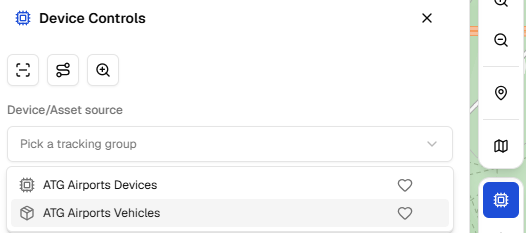
Select Device Controls from the map toolbar. In the panel, select Pick a tracking group, then choose the appropriate Vehicles group. More than one group may be available depending on how your fleet is organised.
What vehicle information is displayed?
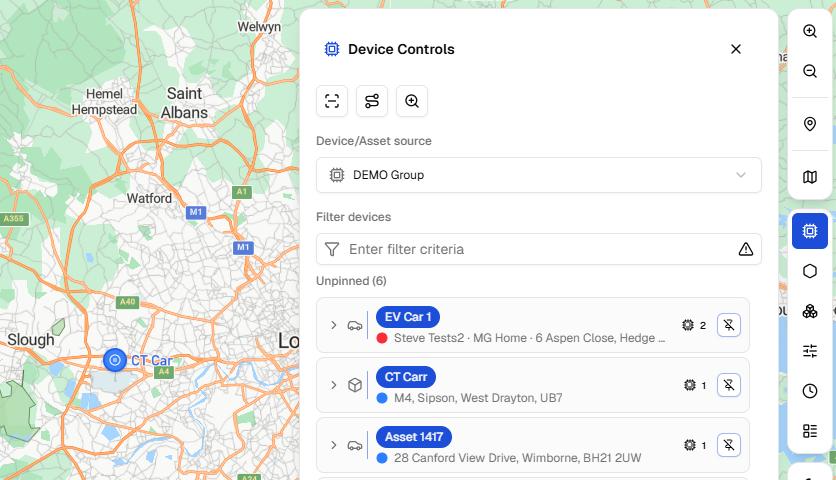
The selected group lists each vehicle identifier, the driver name when known, and the last known location. A coloured dot indicates the vehicle state and matches the corresponding location pin on the map.
Reports
Where do I find Reports?
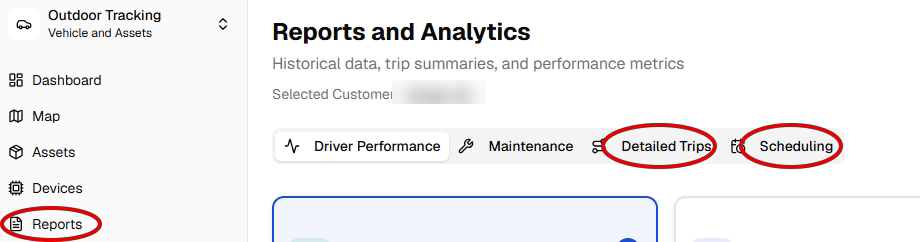
To access the Reports, select Reports from the Outdoor Tracking menu. This will take you to the Reports and Analytics page.
How do I start a Detailed Trips report?
Select Detailed Trips to see an on screen report which can be downloaded or chose Scheduling to create various reports which can be set to run at a frequency to suit your needs.
On the Detailed trips page there will be a report header bar, above this will be a link to a data filter on the left, a date picker on the right and buttons to export the data and to choose which columns you wish to see in the report.

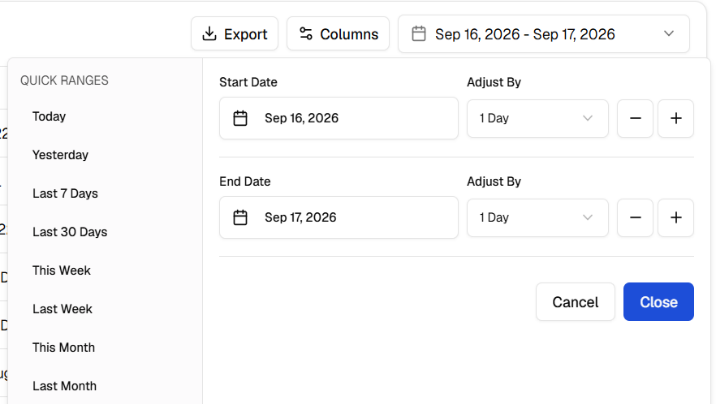
Click on the Date Range, indicated in Red to expand the options. The Start date and End date can be manually set by editing the dates or one of the Quick Ranges can be chosen which will set the date range as required. Click Close to exit the date picker.
Data for any of your vehicles that made journeys during the set period will be visible on the screen.
Continue with filtering, columns, exports and scheduled reports in the complete guide →
Continue to Connect
Ready to use Connect?
Open the Connect application in a new tab and follow the guidance above.